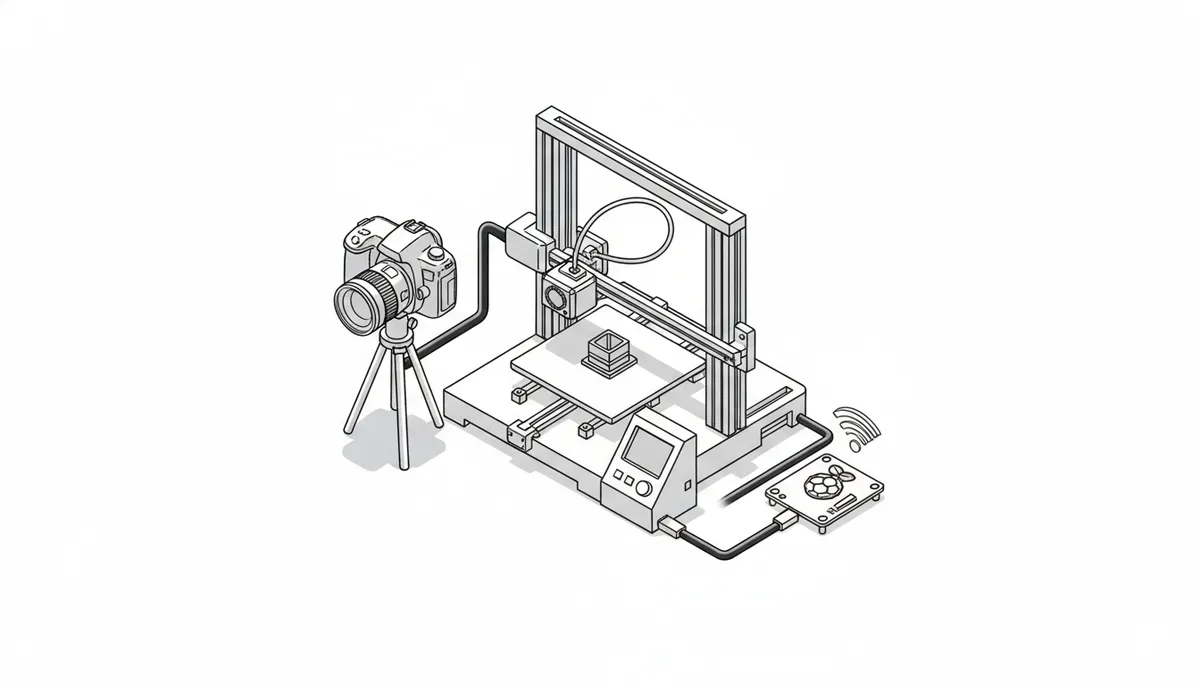
Even tho I have a pi cam connected to my octopint, I wanted to make higher quality time lapses.
To make that happen, I found my old Canon EOS 600D.
We are going to be using gphoto2 to interface with the camera, you can find a list of supported cameras here.
Octolapse + DSLR vs Default + pi camera
Octolapse + DSLR:
Default + pi camera:
Okay lets get started on setting it all up.
I assume that you already have octoprint running on a PI connected to your 3D printer.
If not, follow the official documentation.
We need to connect to the pi via ssh to install gphoto2.
If you did not enable ssh on installation you can do so by adding an empty file named ssh (no extension) to to root of the SD Card.
Now open a terminal and follow the steps below.
Connect to the PI via ssh
ssh pi@{your octopi ip}(Default password is raspberry)
Install gphoto2
sudo apt-get install gphoto2Now connect the camera to the PI and test gphoto2
gphoto2 --auto-detectTake a picture
gphoto2 --auto-detect --set-config capturetarget=1 --trigger-captureNavigate to the script folder
cd scriptsCreate a new script to take a picture
sudo nano snapshot.shAdd the following to the file:
#!/bin/sh
gphoto2 --auto-detect --set-config capturetarget=1 --trigger-capture
press ctrl+O then enter and then ctrl+x and enter to save the file.
Add execute permission to the script
chmod +x snapshot.shNow try to take a picture using the script
./snapshot.shNow lets setup octolapse in octoprint to use the script.
If you have not already, install the octolapse plugin through the plugin manager in the octoprint UI.
After installing configure your printer (or use a preset).
Go to octolapse -> cameras -> Add profile.
Under Camera Type select External Camera - Script.
Then under External Camera Setup - Script add the path to the snapshot.sh file
/home/pi/scripts/snapshot.shUse the test button to make sure it works.
Scroll to the bottom of the window and save the settings.
Under the octolapse tab you can now select your new camera and it will take a picture on each layer!
